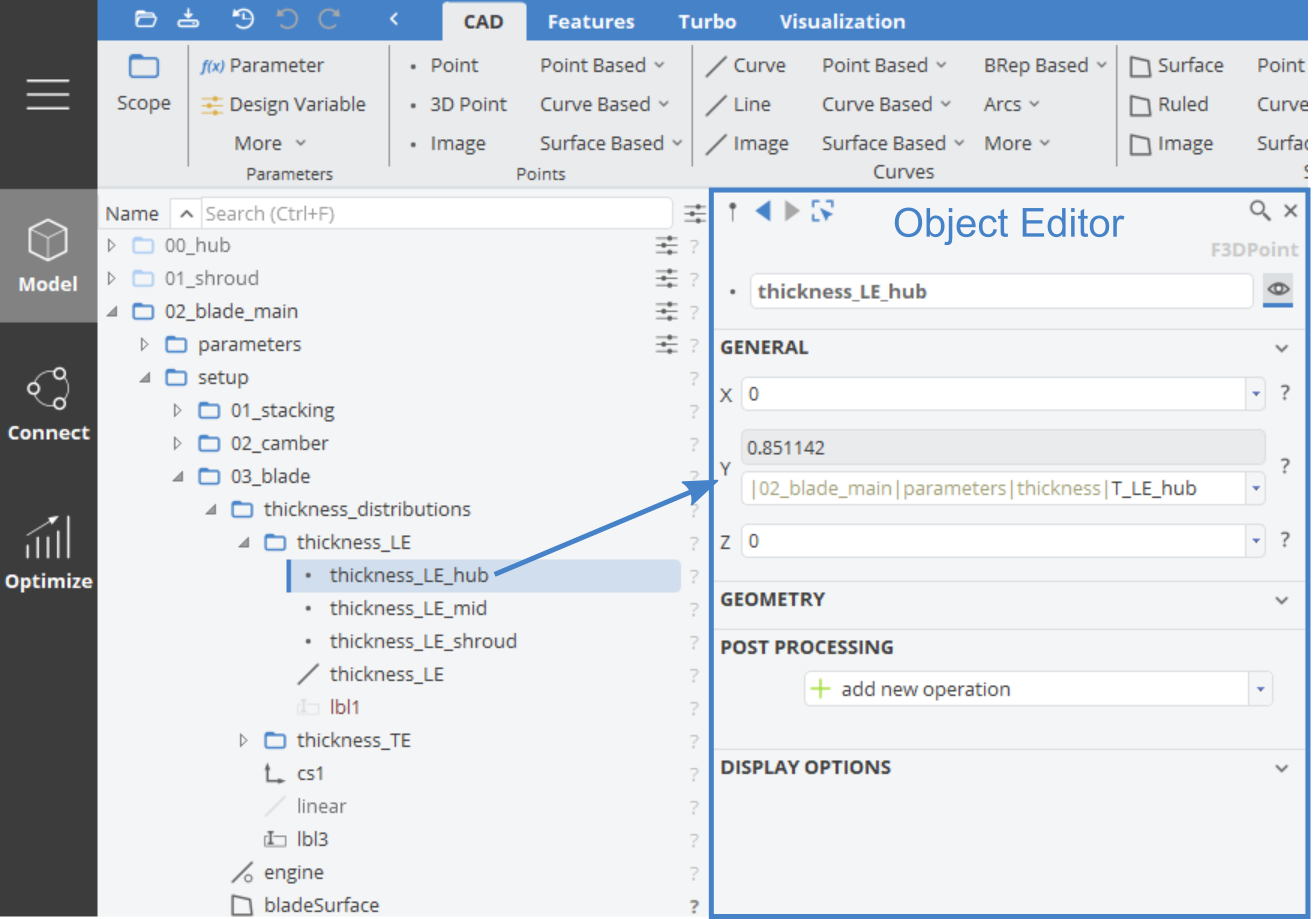
Object Editor
The object editor allows you to set the properties of a selected object. Whenever you select an object in the object tree or in the 3D view, it will be shown in the object editor.
Multi-Selection
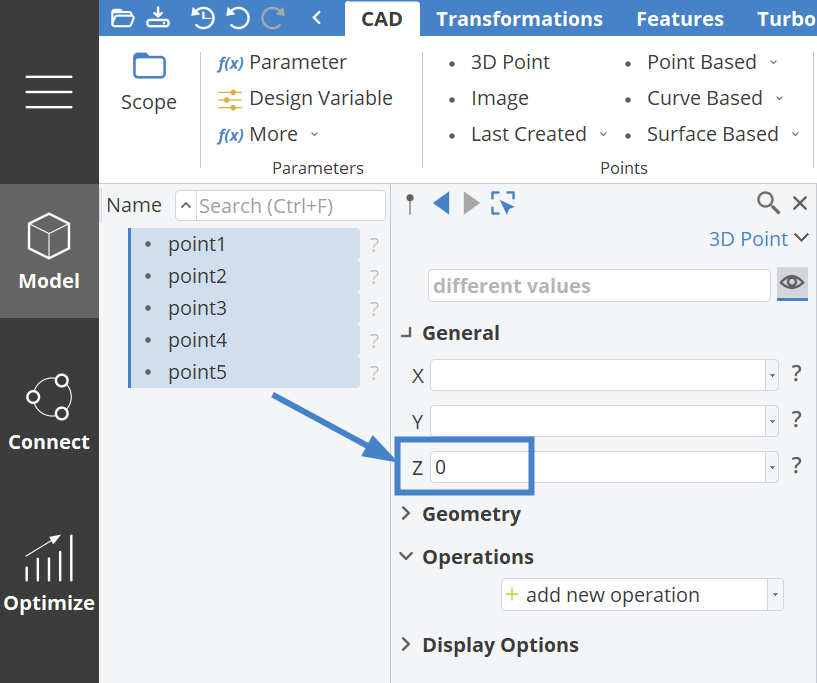
If you select several objects by using the Shift key (or Shift+Ctrl), the common properties are shown in the editor and can be set at once.
Example: Setting a Value
In order to set the Z-coordinate of 5 points to zero, select all points and set the value for the Z-coordinate.
Example: Renaming Several Objects
Another example is renaming: Select objects in a specific order and set a common name such as "obj1". The first object then receives the name "obj1" while for all other the number is increased ("obj2", "obj3" etc.)
Drag & Drop
You can drag & drop objects from the object tree into the object editor fields of the selected object, to connect objects and to create dependencies.
In order to connect objects, the input type of the editor field needs to match type of the object or expression that you want to set.
Pasting Names
Instead of using drag & drop to connect objects, you can also use the following handy action to paste the object names into the editors:
- Put the cursor into an editor field
- Keep the Alt key pressed
- Click on an object in the object tree or in the 3D view.
As a result, the name of the object is pasted into the editor. In the following picture, the full names of the lines A and B are pasted into the surface editor to create a ruled surface between the two curves:
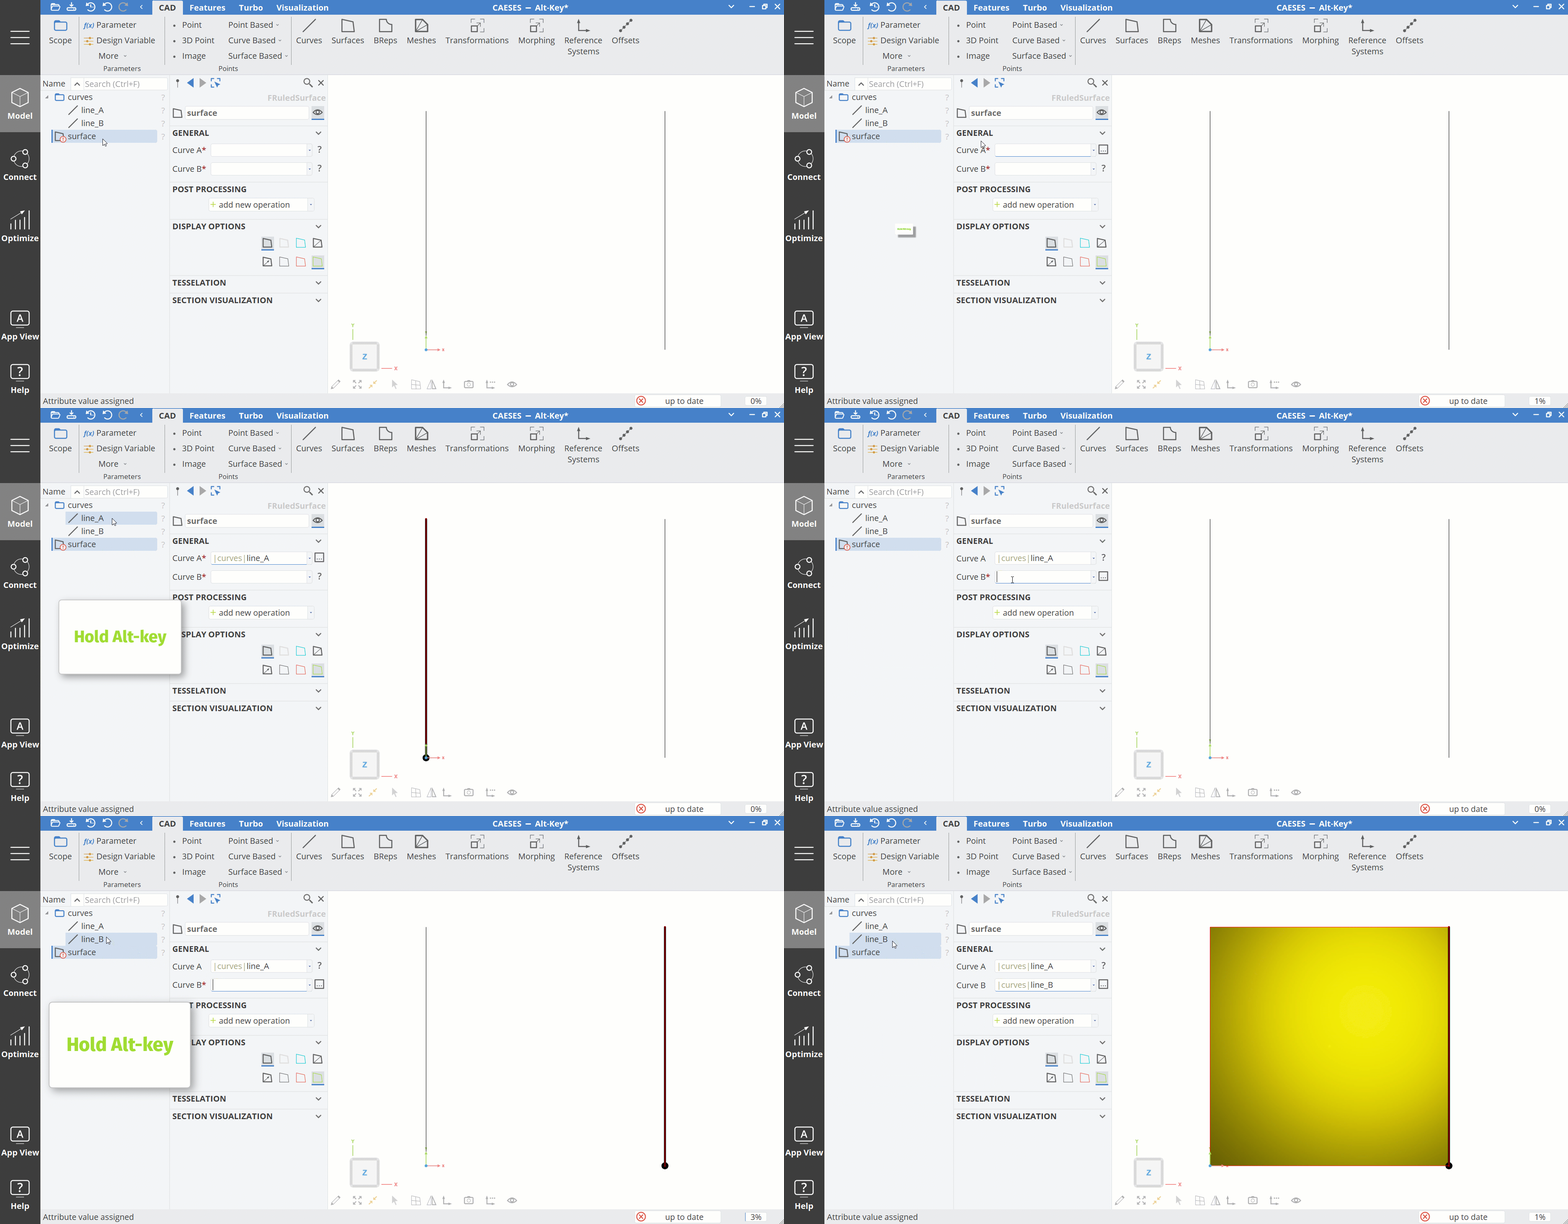
The editor fields of the surface expect a curve as input, or more detailed, an object of type FCurve. The line object is a curve object so that this works. The line has the type FLine which has the parent class FCurve. See the hierarchy documentation for more information.
Categories
For a selected object, click on the different categories to expand the second-level options. CAESES hides these options by default to keep the user interface slim.
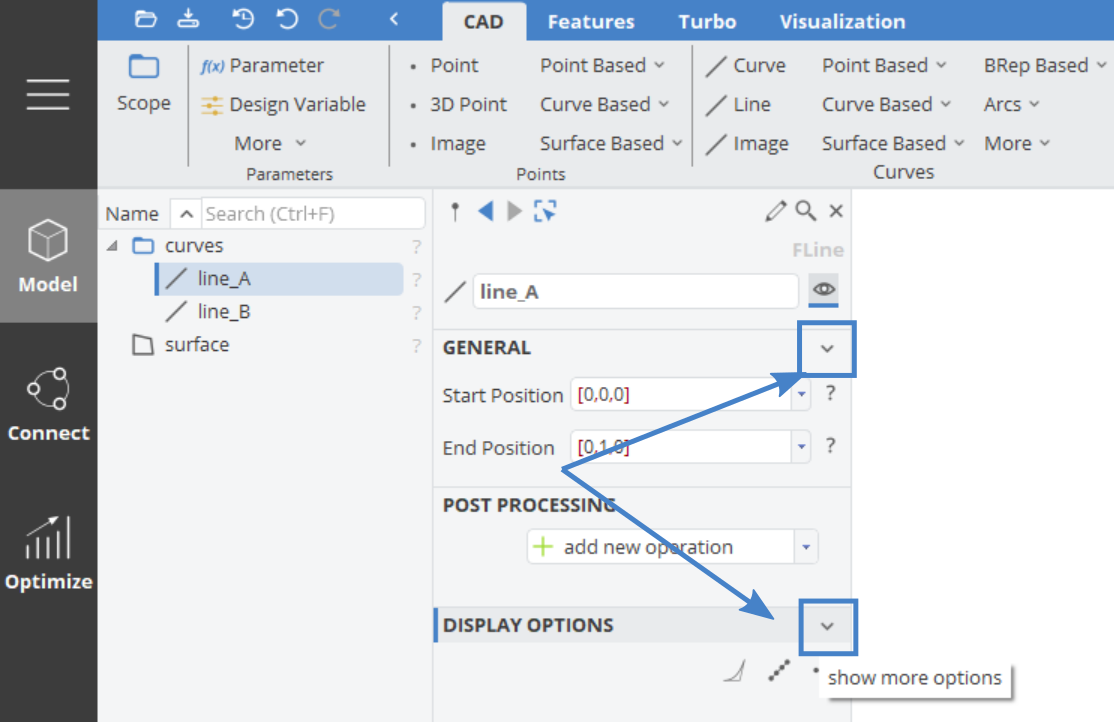
Efficient Editing
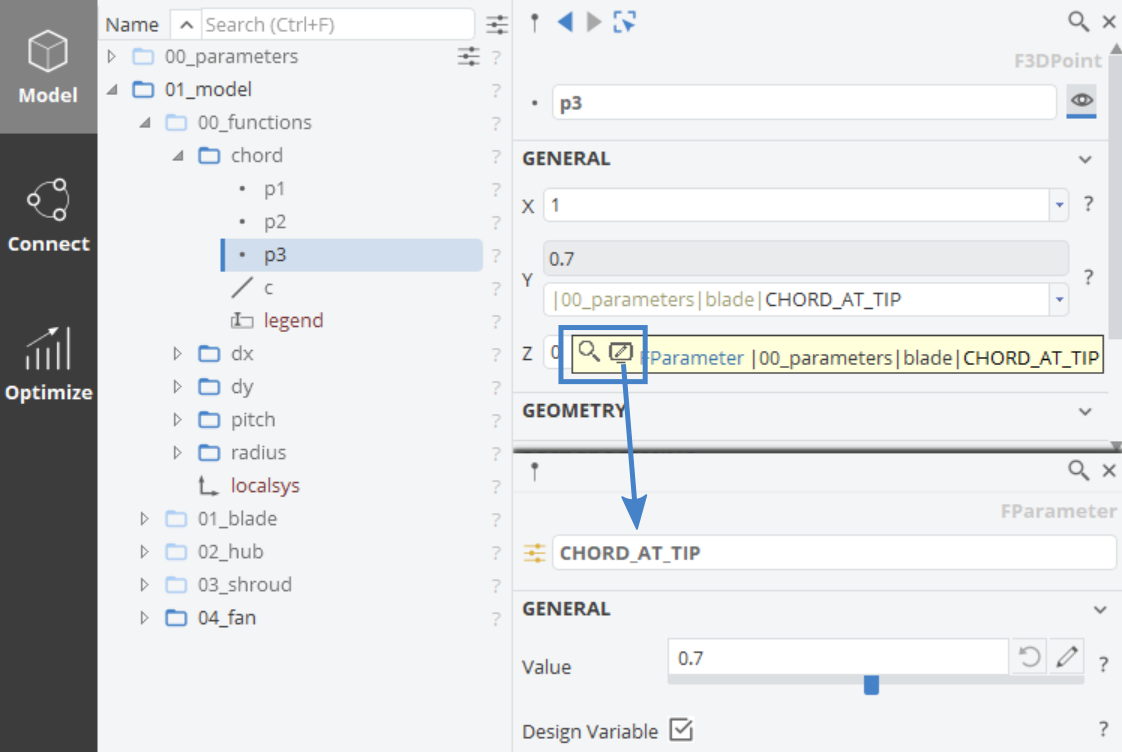
If you hover over an object in the object editor, there are two options that make your life easier when modeling in CAESES:
- Search in Tree
- Quick Edit
In complex projects, these two options help you to quickly find and edit an object. The quick edit option slides in another editor so that you can directly set a value.
Auto-Completion
If you start typing e.g. a name or a command in CAESES, you can use Ctrl+Space to automatically complete the expression or to see all possible names/commands. This is a must to learn! This works within any editor, and is helpful in the context of feature definitions too.
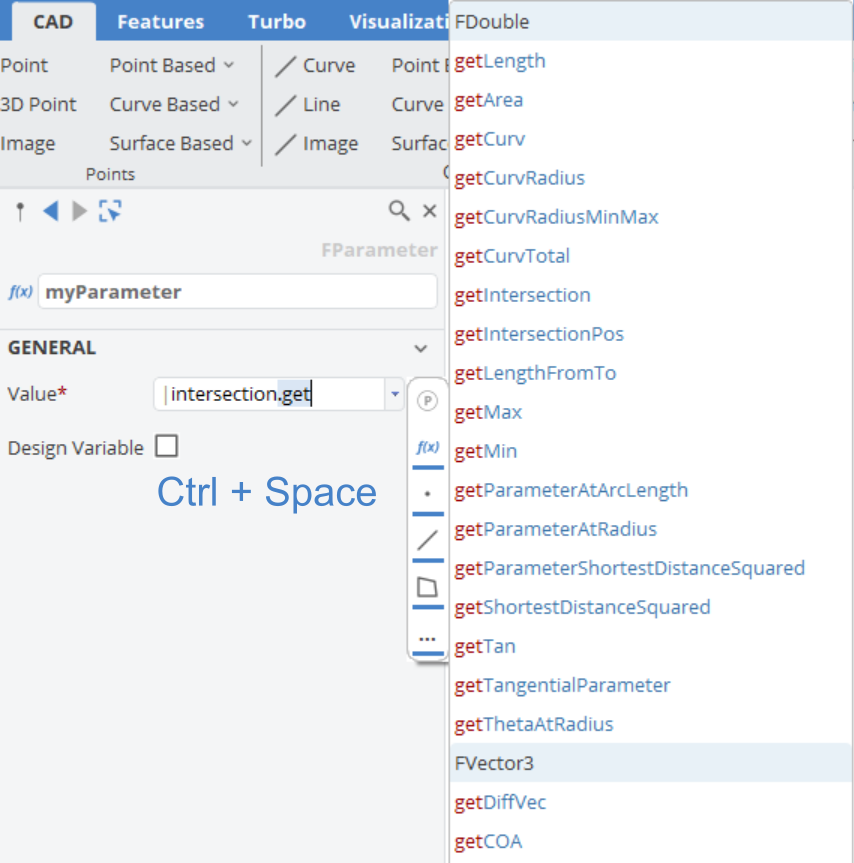
The key combination Ctrl+Space for the auto completion should become your best friend when working with CAESES. It helps you to insert the right objects in the object editor, makes writing feature script functions easier and also helps to use CAESES through the console.
Top Toolbar
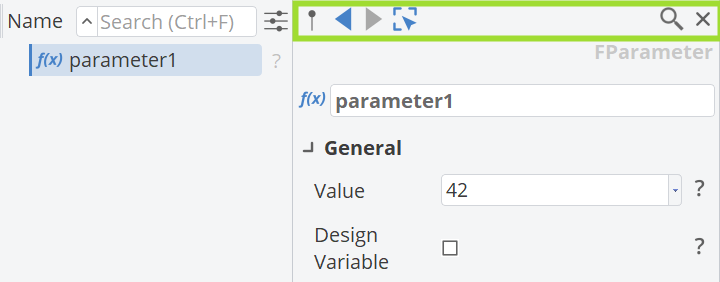
The top toolbar of the object editor contains buttons to navigate to the previous selections which is very helpful in some situations, e.g.
- if you are not sure where your previously selected objects are located in the tree or
- if you had a more complex multi-selection which you need again.
To get an overview of what is selected at the moment you can open the selection set.
Another important button is the pin-button. It allows you to keep an object in the object editor, even if it is not selected anymore.
To highlight and find the object shown in the object editor, in the object tree, use the magnifying glass button in the top right.