Scopes
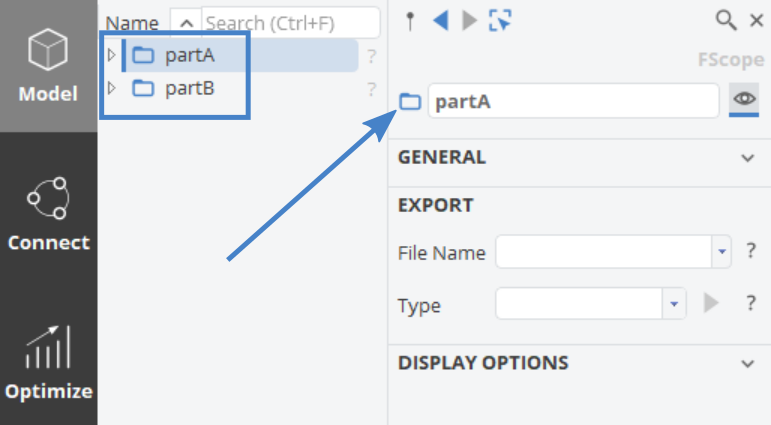
In order to structure your project, use scopes. They can be understood as folders or directories.
Creating Scopes
In the Model workspace > CAD Tab > Scope from the ribbon to create a scope.
If objects are selected when you create a scope, these objects are automatically inserted into this scope. This is helpful if you have created several objects and you want to put them into one new scope.
Putting Objects into Scopes
Simply drag & drop objects into the scope or onto the scope icon to put them into it. In the General category of any object (in the object editor) you can also directly set the scope without using drag & drop.
If you want to put objects back from a sub scope into the highest scope level again, then you can also drag & drop them onto a free space in the object tree.
Pasting Objects into Scopes
If you select a scope before pasting an object (e.g. via Ctrl+V), it will automatically be pasted into the selected scope.
Changing Scopes
You can rename them at any time, and you can drag & drop them at any time during the modeling process to new locations in the tree. All dependencies are kept by CAESES, your model will not break.
Active Scope
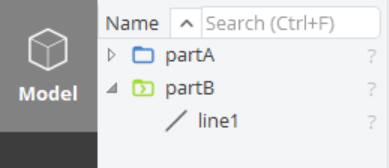
Click with the middle mouse button at the scope to make it active. All objects that you create will now directly be located in this scope. To deactivate this, click at a free space in the object tree using again the middle mouse button.
Export Setting for Batch Mode Runs
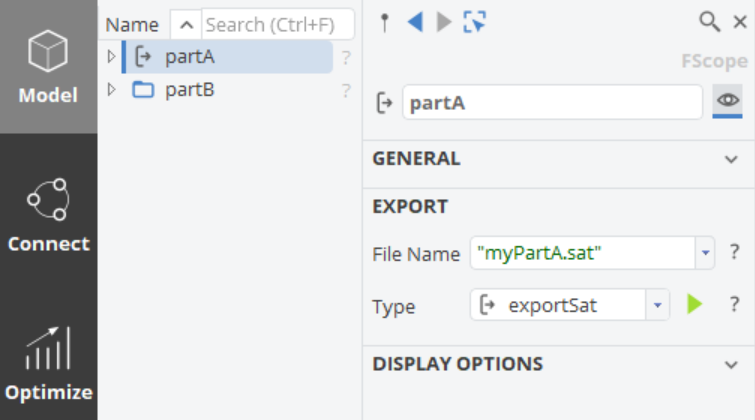
As a general option and required e.g. for batch mode runs and the ANSYS geometry app, you can configure an export for scopes. For a selected scope, set a file name and type. The scope icon will then turn into an export icon to indicate this setting. If you now generate an fsc-control-file for the batch mode run of CAESES (Menu workspace > File tab > CAESES scripts > Export Scripts), this export is automatically written into the control file. It gets executed during the batch run and exports all objects that are within this scope into a single file.